Hide your IP with Anonine on Windows XP

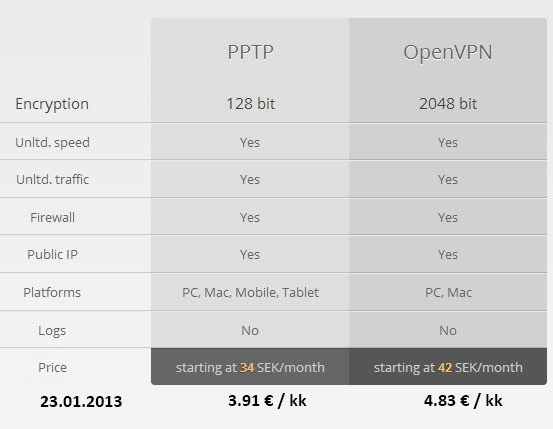
This tutorial shows how to hide your IP with Anonine on Windows XP. Anonine is Swedish VPN service provider and it offers anonymity to internet surfing. Anonine doesn't keep any logs or information about users. Every time user connects to Anonine, they allocate new IP rather than the same as was given during previous connections. There is no speed or traffic cap. Traffic is 128 bit or 2048 bit encrypted depending on the selected service.
1. Go to Anonine website -> click here and click Buy the Service.

2. There is two options: PPTP or OpenVPN. If you are using Anonine only on the PC, then i suggest that you choose OpenVPN option, cause it's more secure.
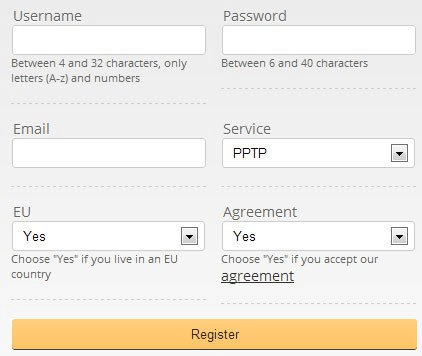
3. Create your account and select your service type. You are using this username and password to log on Anonine.
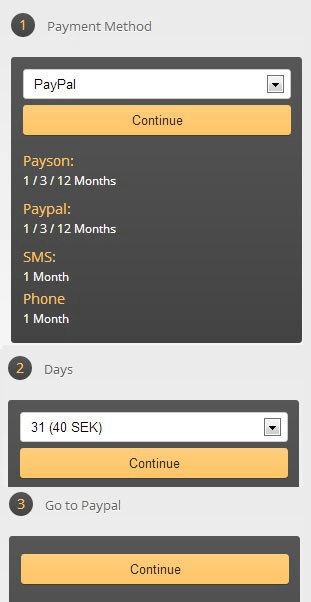
4. Select your payment method and how many days you want. You can select 31 days option if you want to just test how this service works in daily use. If you don't make payments after that, then it automatically stops from working.
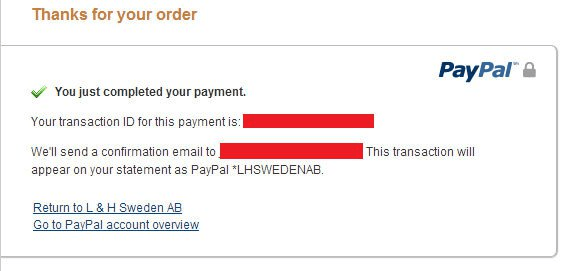
5. If you selected Paypal, after Paypal login you should see this. Click Pay Now.

6. If your transaction made through, then you should see this. Click Return to L & H...
7. You are now logged in to Anonine site, and there should be this notification.

Anonine PPTP connection
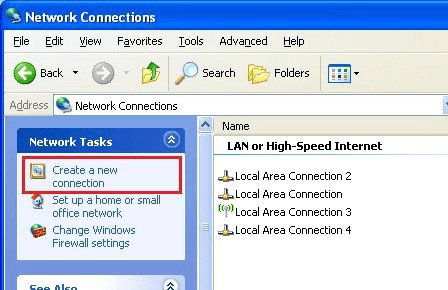
1. Go to Control Panel and click Network Connections.

2. Click Create a new connection.
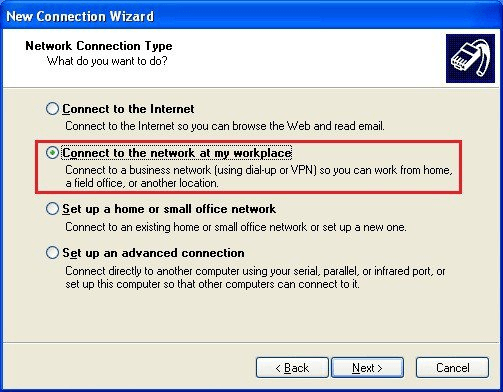
3. Select Connect to the network at my workplace and click Next.
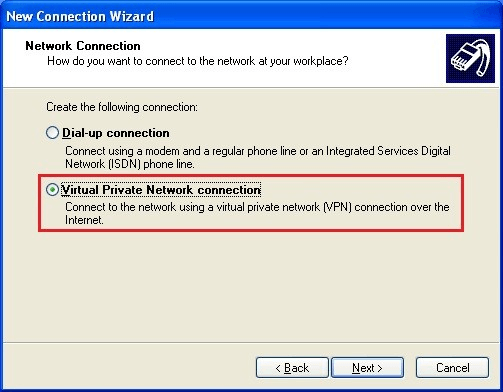
4. Select Virtual Private Network connection and click Next.
5. Type Anonine VPN and click Next.

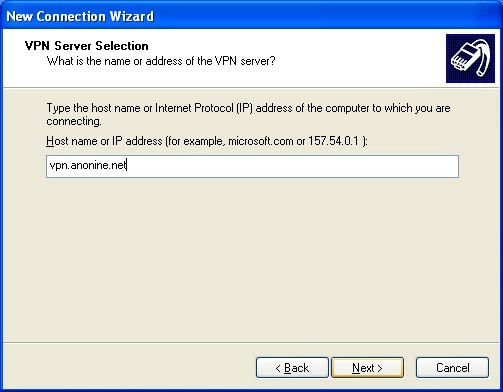
6. Type vpn.anonine.net and click Next.
7. Select checkbox if you want to have shortcut on your desktop and click Finish.

8. Type your Anonine credentials and click Connect.

9. Windows is now connecting to Anonine. This may take a while! It depends on how much there is traffic.

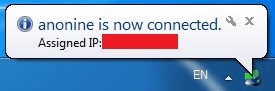
10. When you see this notification, then you are good to go!

Anonine OpenVPN connection
1. Go to OpenVPN download page and scroll to bottom of the page. Download 32 or 64bit installer depending on your installed OS.
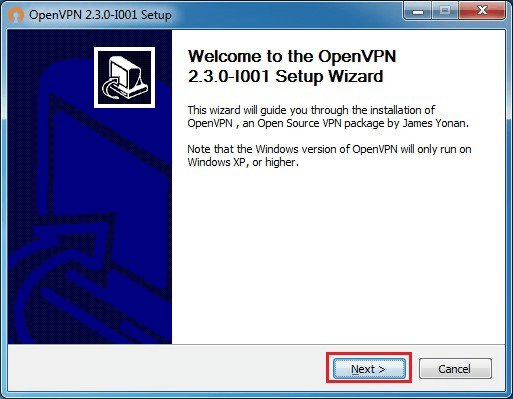
2. Start installer and click Next.
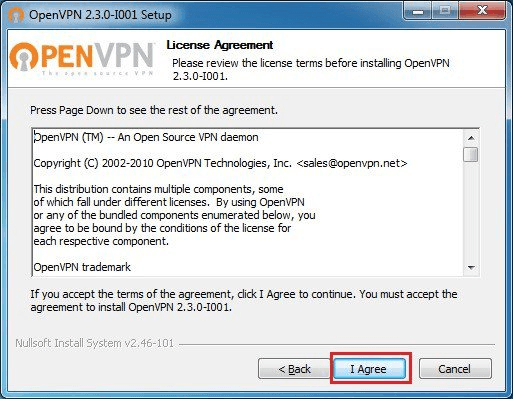
3. Click I Agree.
4. Select all components and click Next.

5. Click Install.

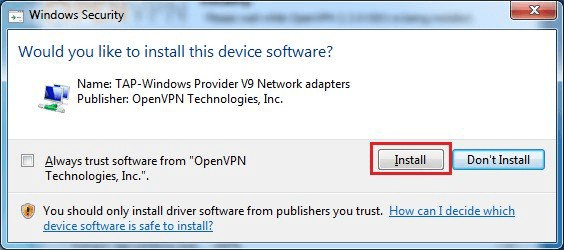
6. When Windows asks this, click Install.
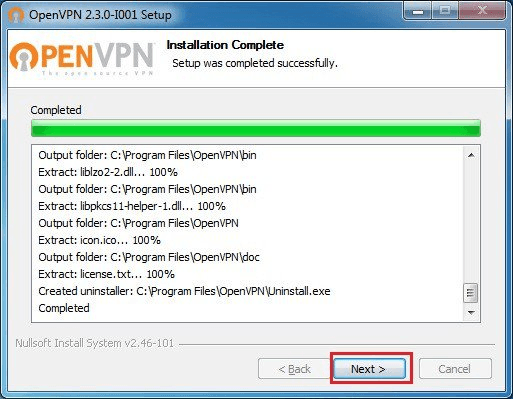
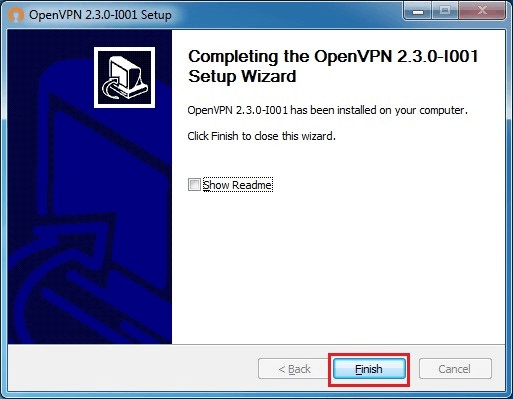
7. Click Next.
8. And lastly Finish.
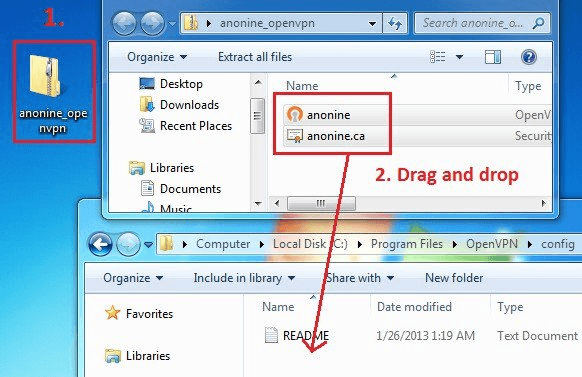
9. Download Anonine config files by clicking here. When download is ready, open zip file and drag and drop config files to OpenVPN config folder.
10. Now you should have OpenVPN icon on your desktop. Double click to start OpenVPN.
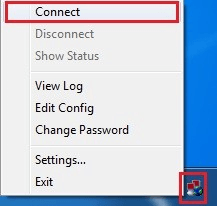
11. Right click OpenVPN icon on taskbar and click Connect.
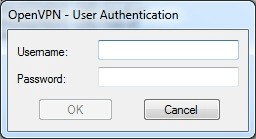
12. Type your credentials and click Ok.
13. When you see this notification, then you are good to go!
14. Refresh this page and check your connection information from the top of this article.
0 Comments